How to use Window Subsystem for Linux?
1. Introduction
This article will look at the Windows Subsystem for Linux a.k.a WSL. We'll look at what it is, compare it with alternatives, how to set it up and finally, see it in action.
2. What's WSL?
Windows Subsystem for Linux (WSL) lets developers run a GNU/Linux environment -- including most command-line tools, utilities, and applications -- directly on Windows, unmodified, without the overhead of a traditional virtual machine or dual-boot setup.
3. Comparing with Dual Boot
Let's compare WSL with the good old Dual Booting option.
3.1. Pain of Setup
Dual Boot will take significantly more time than to setup WSL.
3.2. Switching between Windows and Linux Environment
It's common to use a Linux environment for development activities and Windows for productivity tools. In such scenarios, it becomes a pain with a dual boot setup to switch between the two. With WSL it's as seamless as it can get.
3.3. Shared Clipboard
In a dual boot setup, we cannot just copy and paste between the Windows and Linux environments but it's possible with WSL.
4. Setup
With that introduction and motivation, let's get into setting up WSL for ourselves. As promised, it's going to be a breeze.
4.1. Listing available Linux Distros
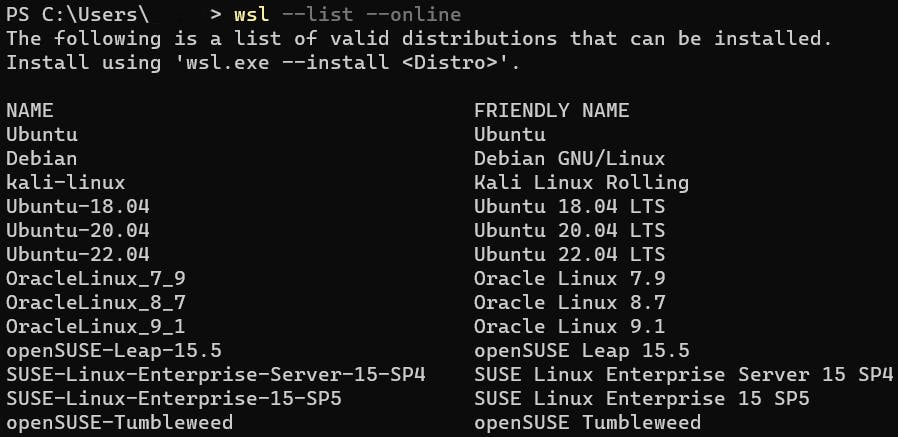
Let's start by first listing what is available to install. This is an optional step as WSL will install the latest Ubuntu by default. However, if we want to select a specific distro we'll need to know its name from the list command's output.
Let's open Powershell and run:
wsl --list --online

4.2. Installing a Linux Distro
Let's install the distro of our choice:
wsl --install -d <Distribution Name>
That's it!
5. WSL in Action
Let's look into action how does:
Shared clipboard works
Shared FileSystem
Launch the Linux terminal from Windows UI by launching the Linux terminal from Windows File Explorer
Launch Windows UI from Linux CLI, by opening a project in Linux on VS Code hosted on Windows